Introduction to Christmas Cherry Bars
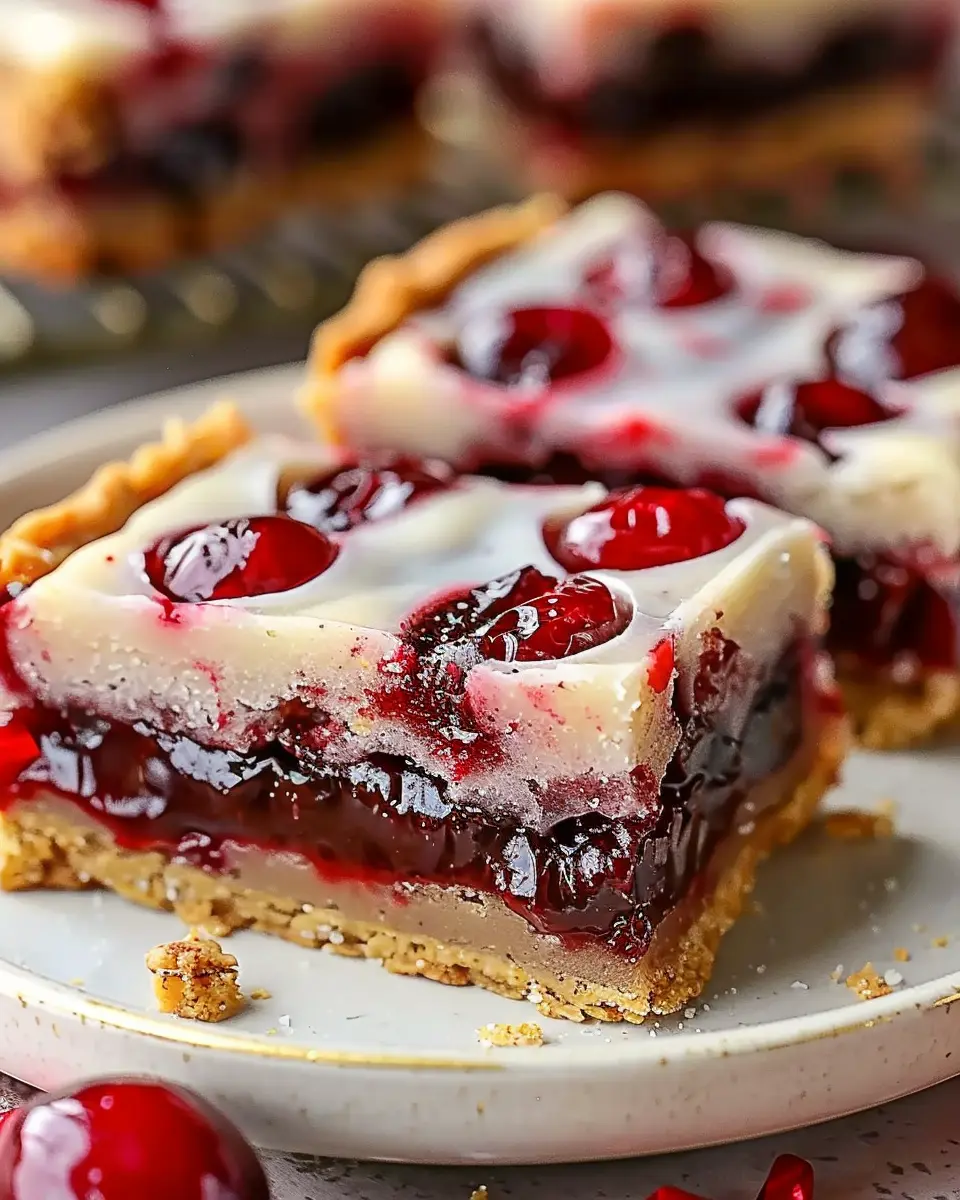
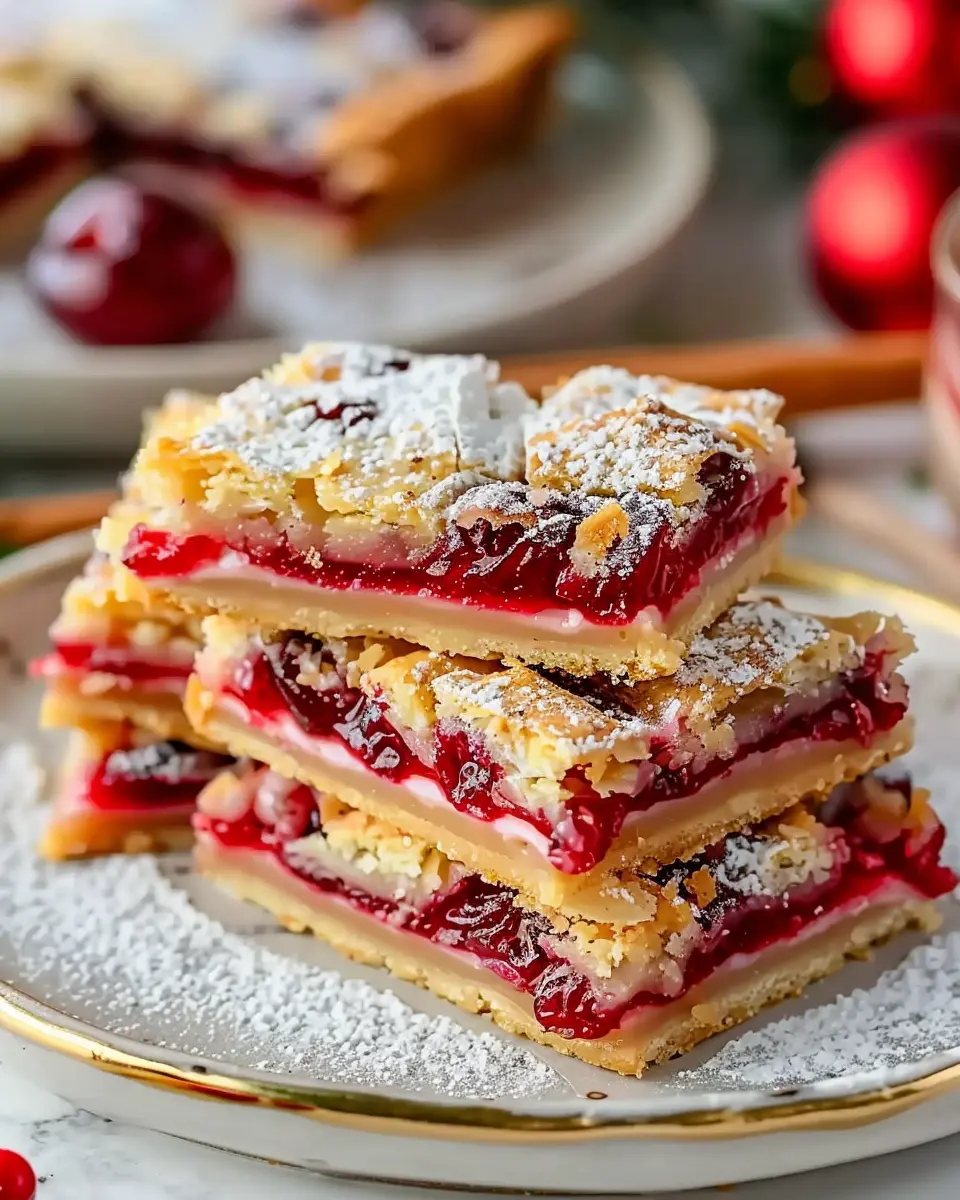
Christmas is that magical time of the year when flavors of the season come alive in our kitchens. For many, Christmas Cherry Bars have become a staple, blending the tartness of cherries with a buttery, rich crust that evokes fond memories of gathering with loved ones. Why do these treats shine so brightly among holiday sweets? It’s simple: they hit that perfect balance between festive flair and comforting nostalgia.
Why Christmas Cherry Bars are a festive favorite
One reason Christmas Cherry Bars are loved by so many is their versatility. They can serve as a delightful dessert at holiday parties or as a sweet treat during cozy nights in with family. Imagine a platter of these vibrant bars, their ruby-red filling peeking through a golden crust, capturing the true spirit of the season. You could even pair these delightful bars with a steaming cup of hot chocolate or a spiced apple cider for that extra holiday cheer.
Another compelling aspect is the ease of making these bars. There’s nothing quite like the satisfaction of baking something from scratch, especially when it fills your home with warm aromas and brings smiles to those you care about. Ingredients like fresh cherries, or even high-quality cherry preserves, can elevate your recipe beyond the ordinary. Plus, you can easily modify the recipe to cater to dietary preferences; consider using gluten-free flour if required!
Did you know that cherries are not just delicious but also highly nutritious? According to a study published in the Journal of Nutritional Biochemistry, cherries are loaded with antioxidants, which can be beneficial for overall health. So, indulging in Christmas Cherry Bars can actually be a delightful way of treating yourself while enjoying the season’s bounty.
As you prepare to embark on your holiday baking adventures, including these bars in your repertoire not only brings sweetness to your table but also warms the hearts of everyone enjoying them. Ready to dive in? Let’s spread some holiday cheer, one delicious bite at a time! For full recipe details, don’t forget to check out our step-by-step guide, and feel free to explore this cherry preserves tutorial for an extra special touch.
Ingredients for Christmas Cherry Bars
When it comes to creating delightful Christmas Cherry Bars, the key lies in selecting the right ingredients. Let’s gather everything you need for this mouthwatering treat that will make your holiday gatherings even more special.
Essential Ingredients
-
For the base:
-
1 ½ cups all-purpose flour
-
½ cup granulated sugar
-
¼ teaspoon salt
-
½ teaspoon baking powder
-
½ cup unsalted butter, softened
-
For the cherry filling:
-
1 can (15 ounces) of pitted cherries, drained
-
½ cup cherry preserves or jam
-
2 tablespoons cornstarch
-
1 tablespoon lemon juice
-
For the topping:
-
½ cup rolled oats
-
½ cup brown sugar
-
½ teaspoon cinnamon
-
¼ cup chopped nuts (such as pecans or walnuts)
Bringing It All Together
These ingredients meld beautifully to create a sweet, tart, and crunchy dish. Are you considering customizing your Christmas Cherry Bars? Feel free to swap out the nuts or add some chocolate chips for a twist!
For more cooking inspiration, you might check out Food Network or Bon Appétit for tempting recipes and ideas. Happy baking!
Step-by-step preparation of Christmas Cherry Bars
Making Christmas Cherry Bars is a delightful way to spread holiday cheer. With a perfectly flaky crust and a luscious cherry filling, they’re the perfect treat for your festive gatherings. Let’s dive into the step-by-step preparation to ensure your bars turn out absolutely stunning!
Gather all your ingredients
Before you embark on this culinary adventure, it’s essential to have all your ingredients on hand. Here’s what you’ll need for those delectable Christmas Cherry Bars:
-
For the crust:
-
1 ¾ cups all-purpose flour
-
½ cup granulated sugar
-
½ cup unsalted butter, softened
-
1 large egg
-
1 tsp vanilla extract
-
½ tsp baking powder
-
¼ tsp salt
-
For the cherry filling:
-
1 can (21 ounces) cherry pie filling
-
1 tsp almond extract (optional, but adds a delightful flavor)
-
For the topping:
-
½ cup rolled oats
-
¼ cup brown sugar
-
½ cup butter, melted
Before you get started, take a moment to check out some great baking tips from the American Baking Association to elevate your skills!
Prepare the crust
Now that your ingredients are ready, it’s time to whip up the crust. It sets the foundation for your Christmas Cherry Bars, so let’s make it scrumptious.
-
Preheat the oven: Start by preheating your oven to 350°F (175°C). This way, it’ll be nice and hot when it’s time to bake your bars.
-
Mix the crust ingredients: In a large mixing bowl, combine the flour, sugar, baking powder, and salt. Next, fold in the softened butter, egg, and vanilla extract until the mixture resembles coarse crumbs.
-
Form the crust: Press about two-thirds of the crust mixture into the bottom of a greased 9×13 inch baking pan. Make sure it’s evenly spread out and firmly packed.
Mix the cherry filling
While the crust is setting its base, let’s prepare the cherry filling, which will be the star of these Christmas Cherry Bars.
-
Combine ingredients: In a separate bowl, add the cherry pie filling along with the almond extract, if you’re using it. Stir gently to mix the flavors without breaking the cherries.
-
Taste test: Here’s a fun tip—take a small taste of your filling! This little taste lets you adjust sweetness or flavor balance if needed, ensuring your bars will have that perfect bite.
Assemble the bars
Assembling your Christmas Cherry Bars is where the magic happens! It’s the moment when you see everything coming together.
-
Layer it up: Pour the cherry filling evenly over the crust in the pan, making sure it covers all the corners.
-
Top with remaining crust: Sprinkle the remaining crust mixture over the cherry layer. You want a nice crumbly topping that will bake beautifully.
Bake the Christmas cherry bars to perfection
Finally, it’s time to let your creation shine in the oven!
-
Bake: Place the baking pan in your preheated oven and bake for about 25-30 minutes or until the topping is golden brown and the filling is bubbly.
-
Cool and cut: Remove the pan from the oven and let it cool completely. Once cooled, cut your bars into squares or rectangles. You can top them with a sprinkle of powdered sugar for that festive touch.
Three cheers for your festive Christmas Cherry Bars! They’re perfect for dessert tables or as a sweet gift. Share them with friends and family, and enjoy the delightful holiday flavors together!
For more sweet inspiration, check out this cherry recipe guide that dives deeper into cherry desserts. Happy baking!
Variations on Christmas Cherry Bars
Adding nuts for a crunchy twist
One delightful way to elevate your Christmas cherry bars is by incorporating nuts. Nuts not only add a satisfying crunch but also bring a rich flavor that complements the sweetness of the cherries. Consider using:
- Walnuts: Their earthy notes pair beautifully with cherries.
- Pecans: Adding a buttery flavor that enhances the whole experience.
- Almonds: Sliced or chopped, they provide a wonderful texture contrast.
For best results, lightly toast your chosen nuts to amplify their flavor before mixing them into the batter. Depending on your preference, you can choose to fold them into the cherry mixture or sprinkle them on top for an inviting presentation. If you’re looking for inspiration, check out this guide on the best nuts for baking for some added tips.
Swapping cherries for other fruits
While cherries are the star of this recipe, don’t hesitate to explore other fruity options! Seasonal fruits not only enhance the flavor but also add color and excitement to your Christmas cherry bars. Think of these fruit alternatives:
- Blueberries: They lend a touch of tartness and a vibrant hue.
- Raspberries: Their juicy burst adds a fresh contrast that is hard to resist.
- Diced peaches: For a summery twist that’s still celebratory.
Feel free to mix and match fruits according to your taste preferences or what you have on hand. Not only does this make it versatile, but it also encourages creativity in the kitchen! When you experiment, you’re likely to discover a new favorite version of the traditional Christmas cherry bars that brings your holiday festivities to life.
Cooking tips and notes for Christmas Cherry Bars
Key ingredient substitutions
When making Christmas Cherry Bars, feel free to get creative with substitutions that can accommodate your dietary preferences or ingredients on hand. Instead of regular cherries, try using cranberries or raspberries for a unique twist. If you need a gluten-free option, substitute all-purpose flour with a gluten-free blend or almond flour. For a nut-free version, you can swap out nuts with seeds like sunflower or pumpkin seeds. These small adjustments can make a big difference and keep your festive treats inclusive for everyone!
Importance of cooling before cutting
Once your Christmas Cherry Bars are out of the oven, the wait isn’t over—allow them to cool in the pan for at least an hour. Cutting them while they’re still warm may lead to a messy, uneven slice, and nobody wants that! Cooling helps the bars set properly, making them easier to handle and enhancing their flavor. You’ll be rewarded with delightful, tidy pieces that are perfect for sharing with friends and family. Trust me, the wait is worth it!
Serving suggestions for Christmas Cherry Bars
How to plate them for holiday gatherings
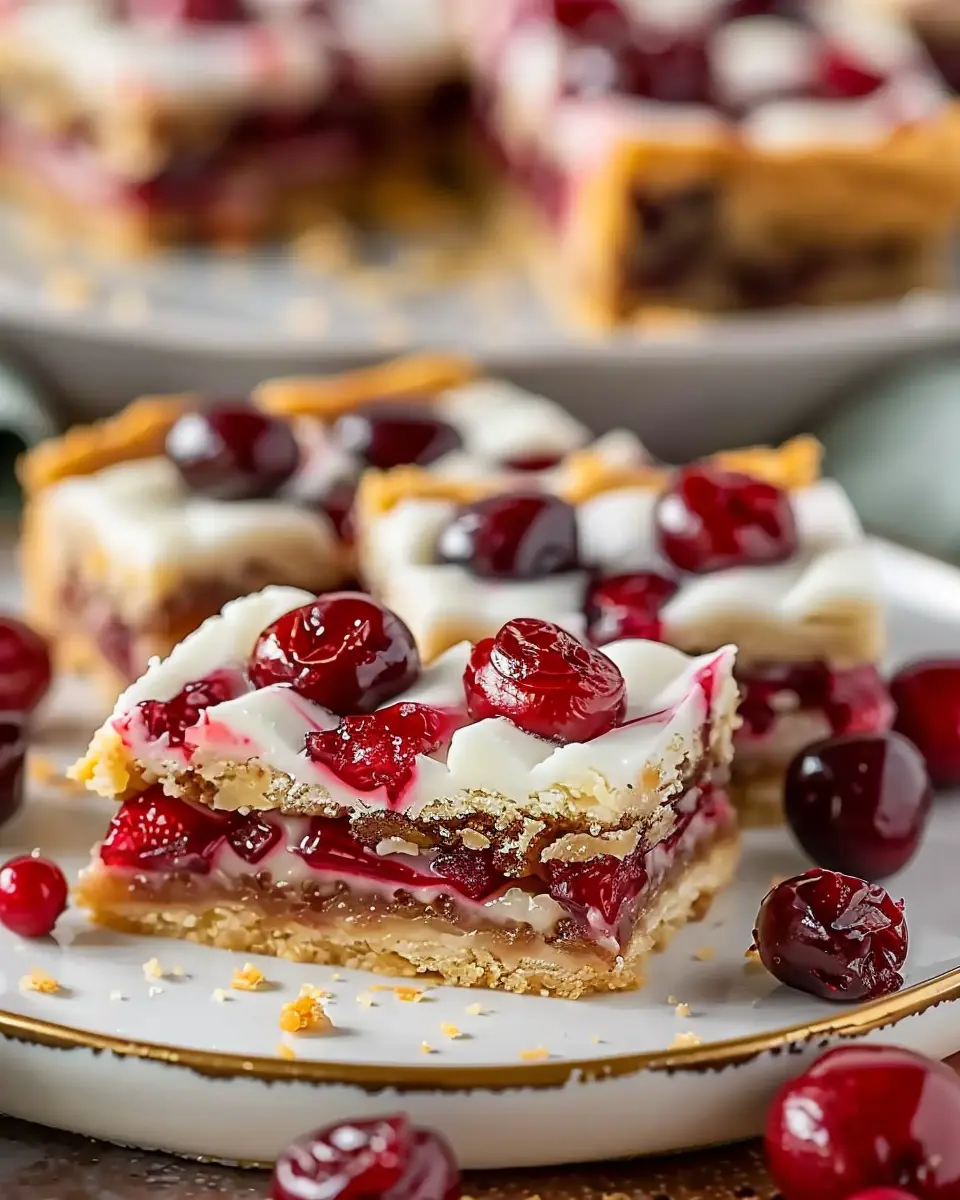
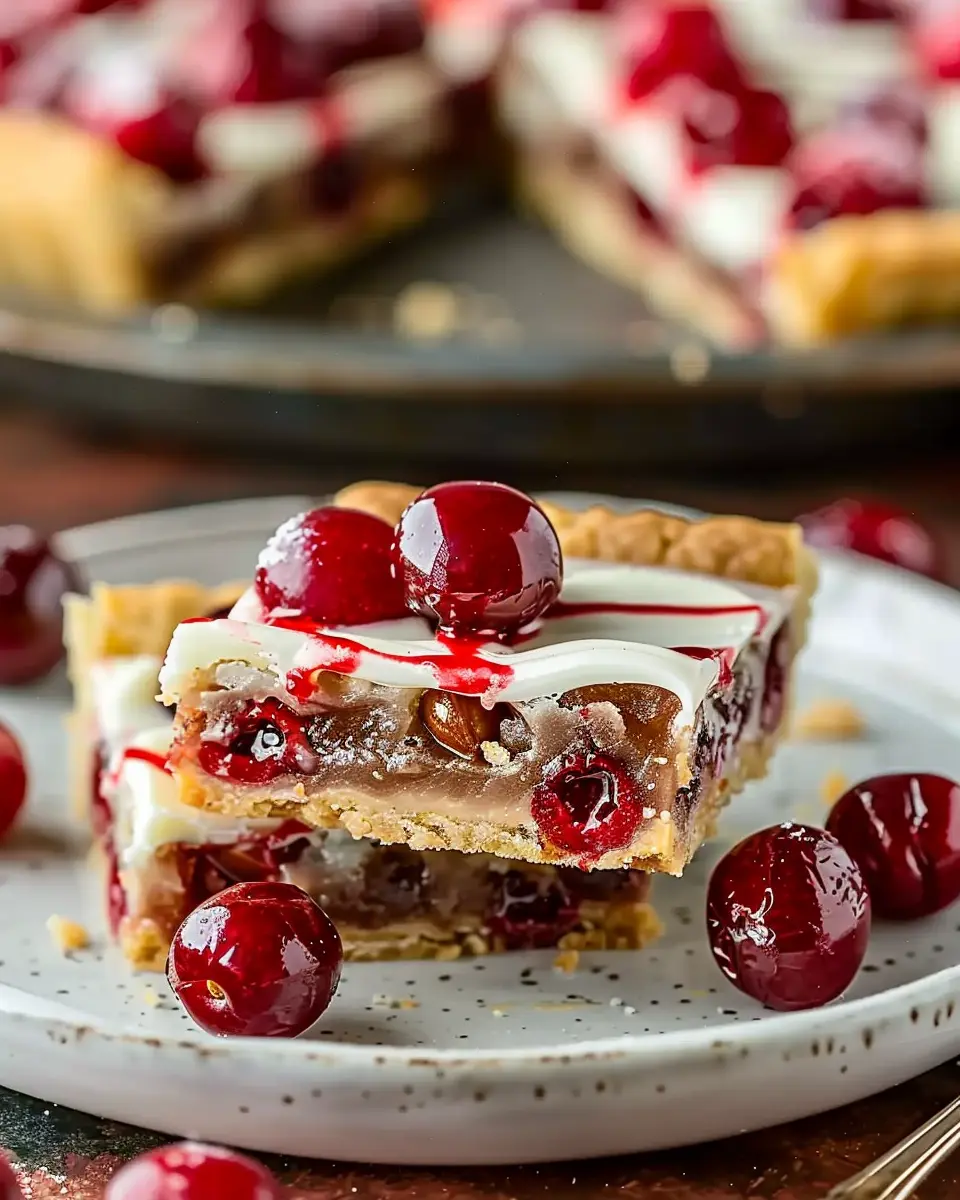
Presenting your Christmas Cherry Bars beautifully will elevate them to star dessert status at any holiday gathering. Start with a festive platter lined with parchment paper. Cut the bars into neat squares and arrange them in a colorful pattern, alternating with sprigs of fresh mint or rosemary for a pop of color and fragrance. Sprinkle a light dusting of powdered sugar over the top for a snowy effect—this simple touch can transform your treat into a holiday masterpiece that even Martha Stewart would admire!
Creative ways to serve
Looking to impress your guests? Try serving your Christmas Cherry Bars with a scoop of vanilla ice cream or dollop of whipped cream for a delightful contrast of flavors and textures. You could also incorporate a hot chocolate station nearby, offering toppings like marshmallows or peppermint sticks for a cozy, interactive twist. For an even more festive flair, drizzle with homemade caramel or chocolate sauce. Guests will love creating their unique dessert combinations, turning your Christmas Cherry Bars into the highlight of the evening!
For more creative serving ideas, check out Martha Stewart’s entertaining tips. It’s the perfect inspiration for your holiday celebrations!
Time Breakdown for Making Christmas Cherry Bars
Making Christmas Cherry Bars is both a delightful and rewarding experience. Here’s a quick breakdown of the time you’ll need to get those delicious treats from your kitchen to your holiday dessert table.
Preparation Time
Set aside about 20-25 minutes for prepping your ingredients. This includes gathering your staples like flour, sugar, and of course, those vibrant cherries. Don’t forget to preheat your oven during this time!
Baking Time
The baking process will take approximately 30-35 minutes. Keep an eye on them as they bake to achieve that perfect golden edge, which is hallmark for these festive bars.
Total Time
In total, you should budget around 1 hour for the entire process, from start to finish. With just a little bit of effort, you can create a homemade treat that will surely impress your family and friends!
For more baking tips and similar recipes, feel free to check out Food Network and AllRecipes.
Nutritional facts for Christmas Cherry Bars
When it comes to festive treats, Christmas Cherry Bars are a delightful addition to any holiday spread. Let’s dive into their nutritional profile so you can enjoy them guilt-free!
Calories
Each serving of Christmas Cherry Bars contains approximately 150 calories. While not overly indulgent, be mindful of portion sizes, especially during those celebratory gatherings where you might want to indulge a bit!
Sugar Content
These bars have about 10 grams of sugar per serving. While this satisfies a sweet tooth, it’s always a good idea to balance sweetness with other nutritious options on your plate. If you’re looking for alternatives, consider organic or natural sweeteners, such as maple syrup or agave.
Dietary Considerations
Christmas Cherry Bars can be tweaked to fit various dietary needs. For those following a gluten-free diet, simply swap in gluten-free flour. They are also easy to make vegan by replacing eggs with flaxseed meal. Always check the ingredient labels to ensure they align with your dietary preferences.
Thinking of making these bars for a holiday gathering? A fun touch is to pair them with some coconut whipped cream or serve alongside a cup of herbal tea. For more fun tips on healthy baking, check out this article from the American Heart Association. Enjoy your baking adventure!
FAQs about Christmas Cherry Bars
When it comes to baking, it’s natural to have questions, especially during the busy holiday season. Let’s dive into some common queries about these delightful Christmas Cherry Bars!
Can I use frozen cherries?
Absolutely! Frozen cherries can be a fantastic substitute for fresh ones, especially if you’re baking these bars out of cherry season. Just make sure to thaw and drain them before incorporating them into your recipe. This will prevent excess moisture from making your bars soggy. Consider checking out this guide on using frozen fruits for more tips!
How should I store leftover bars?
To keep your Christmas Cherry Bars fresh, store them in an airtight container at room temperature for up to three days. If you want to preserve them longer, refrigerate them for about a week. Best of all, you can freeze them for up to three months. Just wrap each bar in plastic wrap and then seal them in a freezer-safe bag. That way, you can enjoy a sweet holiday treat in the middle of summer!
What is the best way to cut them?
Cutting these delightful bars can be a bit tricky, especially when they’re warm. For the best results, let your Christmas Cherry Bars cool completely before slicing. Use a sharp knife or a pizza cutter for clean cuts. If you want to get a bit fancy, try cleaning the knife with warm water after each cut for that perfect edge!
These tips will help you enjoy your Christmas Cherry Bars to the fullest! Happy baking!
Conclusion on Christmas Cherry Bars
Why you should make them this holiday season
The holiday season is all about joy, sharing, and, let’s be honest, delicious treats! Christmas cherry bars are a perfect addition to your festive spread. They’re not only visually appealing with their vibrant red and green hues, but the combination of sweet cherries and buttery crust creates a delightful flavor that is sure to please everyone.
Imagine serving these at your next gathering or during cozy family movie nights—your guests will cherish the sweet memories, and you might even find that they disappear faster than you can say “Christmas cheer.” Additionally, they are easy to make and can be prepared ahead of time, allowing you to spend more time enjoying the company of family and friends.
Don’t miss the chance to add this scrumptious treat to your holiday baking list. For more festive ideas, check out sources like the American Christmas Cooking Association for inspiration!
PrintChristmas Cherry Bars: The Best Indulgent Treat for Your Holiday Table
Indulge in the festive spirit with these delicious Christmas Cherry Bars, perfect for your holiday gatherings.
- Prep Time: 15 minutes
- Cook Time: 35 minutes
- Total Time: 50 minutes
- Yield: 16 bars 1x
- Category: Desserts
- Method: Baking
- Cuisine: American
- Diet: Vegetarian
Ingredients
- 1 cup cherry pie filling
- 2 cups all-purpose flour
- 1 cup unsalted butter, softened
- 1 cup granulated sugar
- 1 large egg
- 1 teaspoon vanilla extract
- 1/2 teaspoon salt
- 1 teaspoon baking powder
Instructions
- Preheat your oven to 350°F (175°C).
- In a large bowl, cream together the butter and sugar until smooth.
- Add the egg and vanilla extract, mixing well.
- Combine flour, salt, and baking powder; gradually add to the creamed mixture.
- Spread half of the dough into a greased baking dish.
- Spread the cherry pie filling over the dough.
- Drop the remaining dough by spoonfuls over the cherry filling.
- Bake for 30-35 minutes or until golden brown.
- Allow to cool before cutting into bars.
Notes
- For an extra touch, sprinkle powdered sugar on top before serving.
Nutrition
- Serving Size: 1 bar
- Calories: 200
- Sugar: 15g
- Sodium: 150mg
- Fat: 10g
- Saturated Fat: 6g
- Unsaturated Fat: 4g
- Trans Fat: 0g
- Carbohydrates: 25g
- Fiber: 1g
- Protein: 2g
- Cholesterol: 30mg
Keywords: Christmas Cherry Bars, Holiday Treats, Cherry Desserts